How to Save, Store and Scan Photos: 7 Easy Tips
In a Reader’s Digest article, Juliana LaBianca explains how to preserve old family photos. Summary below (Plus our suggestions on how to scan photos):
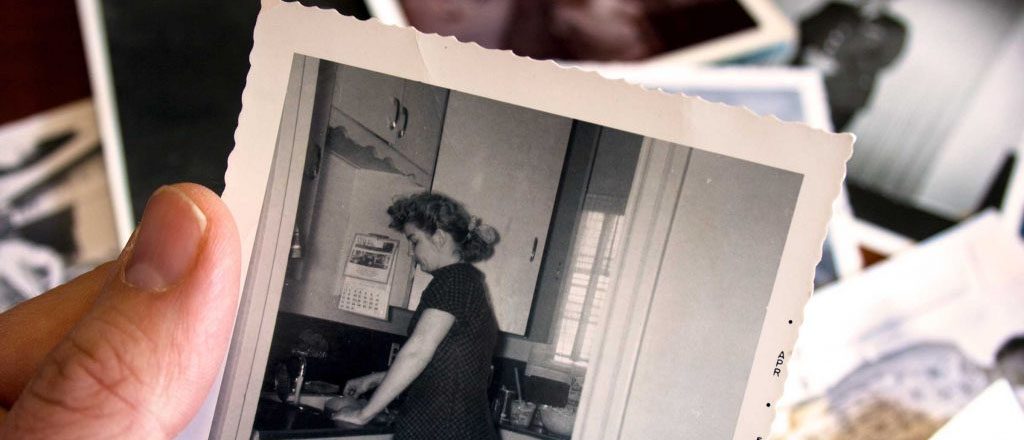
As printed photos age, they can fade, get brittle or acquire color casts. They demand, but seldom get, good tender loving care. You need to know how to keep the originals, and also consider digitizing them for future generations.
Store in a Dry and Cool Place
All too often, we stash old family photos and picture albums out of sight in the basement, attic or a less-used room. They can get damp and moldy in the basement, and the heat in the attic can degrade the paper and inks.
Store photos and albums in a dry, cool, and temperature-stable space. Don’t let water or any cleaning materials near them – fumes and vapors from the latter can damage the print chemicals.
Old photos can curl as the paper layers and the coating dry over the years. Different layers dry at different rates. There are many ways to flatten them. The choice of method could be guided by (a) The material of the prints: Very old photos used different material than 1970s-80s photos. (b) The amount of curl and degree of dryness.
Try placing curled photos overnight under a stack of heavy books. If this doesn’t work, and the photos aren’t ancient or brittle, wrap 10-12 photos around a large soft tube (such as a roll of kitchen tissue) to counteract the curl. Use rubber bands to hold them in place, leave overnight. For more drastic measures, see this article, but please be careful.
Protect from Direct Light
Do you have rare, old family photos hanging in your living room? Photo prints fade fast if exposed to light. If you have original pictures on display, take them down. Scan and reprint them for framing and display, and store the originals safely. The culprit here: ultra-violet rays, that can affect the photographic chemicals and bleach them.
Don’t Write Directly on Photos
It’s important to to ensure that details about old family photos, such as dates, places, people’s names etc. aren’t forgotten. But don’t annotate these on or behind the photos with a pen or ball pen. If you must write behind the prints, use a pencil.
A better option is to scan the photos and add digital annotations (Very easy: explained below). Look through your collection of old family photos. Chances are that you will come across a few with dates and details scribbled in ink. Your best bet is to scan them, then use a photo editing program such as Photoshop or Gimp to restore them. If you don’t have the necessary software or skills, look online for photo restorers. Once you have clean, restored digital files of the photos, you can have fresh prints made.
Store in Acid Free Albums or Photo Boxes
At one time (1970s?), magnetic albums were very popular. Then, in the 1980s and ’90s, one-hour photo print shops would return your prints in those flimsy, free plastic albums. Both those are BAD for your photos. Always use acid-free, lignin-free containers.
Also, don’t use paper clips, rubber bands, tape, glue etc. to bundle photos together. Over time, these can curl, bend or mark the photos. It is also a good idea to keep photos away from food and drink.
Digitize Your Prized Photographs
Old family photos are irreplaceable treasures. Scanning not just preserves them, it also makes them portable and easily sharable. Yet most people never get down to doing it because it’s so tedious. Julianna suggests some options for scanning them. Below, we suggest other, easier options.
Even when you have digitized your old photos, don’t toss the original prints. Put them in storage, if necessary, but they are the Real McCoy – paper from the same era as the photos. Don’t lose them!
How to Scan Photos
Here are the options:
- A desktop or flatbed scanner
- An “outsourced” scanning service
- A DSLR camera on a tripod
- A smartphone and scanner app.
Doing it yourself with a conventional scanner will give the best scans. Many scanners include bundled software that will let you scan and auto-crop several photos at once. If your scanner doesn’t do this (and you are a Mac user), you can use SnipTag app. It can batch-crop scanned photos in JPG, PNG, TIFF and BMP formats, while preserving resolution.
Sending the photos to an scanning service is expensive. It also involves a lot of work on your part (You can’t send albums: You will have to take photos out of albums, sort by size, and put them back in albums when they come back after scanning). And there’s always a small risk of your irreplaceable photos getting damaged or lost in transit.
Scanning with mobile apps is faster, and you don’t need to take photos out of albums. You can scan on the go, using a device you already have. Scan quality depends on your smartphone’s camera. Current iPhone and iPad models have 12 megapixel cameras, which can produce decent scans.
If you use an iPhone or iPad, get Pic Scanner Gold or Pic Scanner app. Both these apps let you scan multiple photos at a time. They automatically crop all the photos. You can add digital captions to photos. Pic Scanner Gold has more features and produces higher resolution scans.
After You Scan Photos, Archive Them
Once the photos have been scanned, archive them on hard drive or DVDs at two physically separate locations. A back-up in a cloud service is also highly recommended. This pretty much assures their safety and longevity.